

.jpg)


 Blind Contour drawing: A blind contour drawing contains lines that are drawn without ever looking at the piece of paper. This forces you to study a scene closely, observing every shape and edge with your eyes, as your hand mimics these on paper. The aim is not to produce a realistic artwork, but rather to strengthen the connection between eyes, hand and brain: a reminder that, when drawing, you must first learn to see.


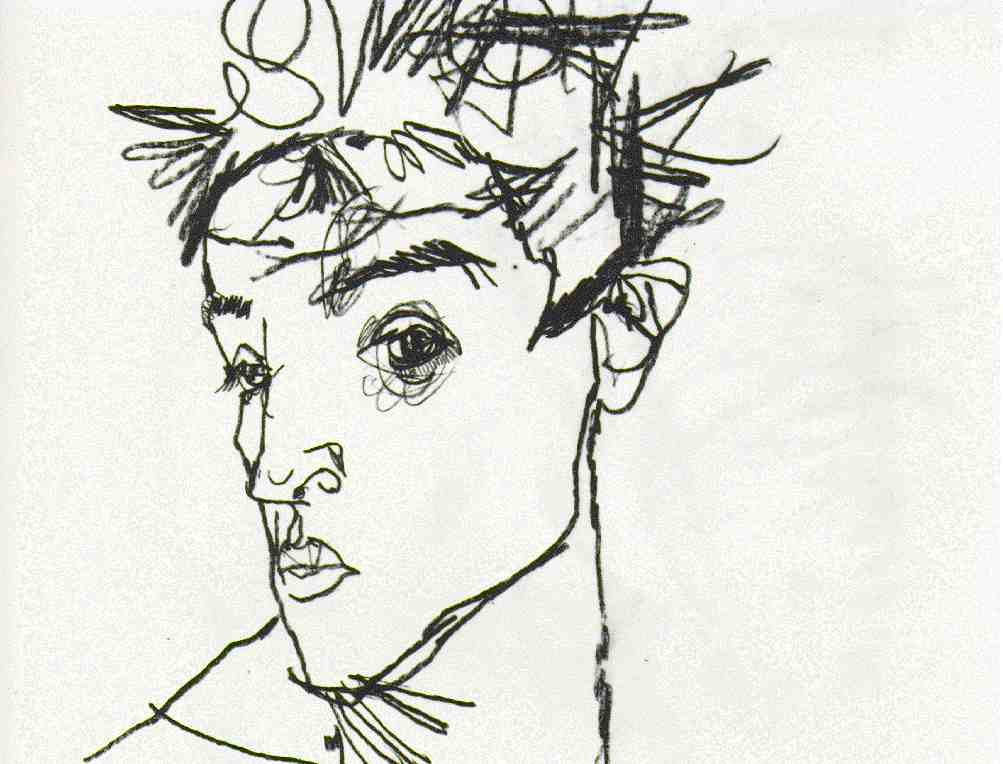 Egon Schiele
  Shane Turner
 Here is the first few life drawing sketch's I have done since February this year. At first it felt a bit foreign and it felt as if I was holding my pencil to tight. I knew I needed to loosen up and get used to it again. The picture furthest to the left is the first sketch I had done this year and it didn't turn out to bad considering I hadn't done life drawing in a while. But there is improvements that I need to make. An improvement I believe that would benefit me would be to practice on measuring the body more carefully but also making sure I'm using my time sufficiently. Why I think practicing measuring would benefit me is sometimes I mess up the proportions of the body and end up with some extremely large legs and a head the size of a pea. The second picture I drew shows why I need to practice on measuring. As you see I have ended up with a pea sized head and a leg which looks like a a chicken drumstick. What's annoying is I think the arm and torso went well and this sketch would of looked great if I had time to correct the mess I made.
 For the second half of our lesson we was constantly told to move around our space and not hug our easels. Then to get us working quicker and to move more Jon began to give us less time for each sketch and it ended up him giving us 2 seconds to do a life drawing. I found this task really fun and seeing the outcome of the sketches. Slowly Jon began to bring the time back up and I was still in fast mode and began finishing the sketches before the time was up, the time seemed to drag. After this lesson I defiantly prefer to work quickly, I find my strongest pieces are the ones that I worked quickly on. Once we had done the quick sketches we all got given a stick of willow to attach our pencils too and got told to draw the model. It's pretty hard control a stick to go in the way you want especially when the the stick is curved. I was surprised how well it turned out and I think I might do more sketches using this technique.
 The second life drawing lesson we had we started using chalk. I was so happy that I found out we was using chalk, I love using chalk in life drawing even if I'm not the best working with it. To start of with we did three quick sketches. Only one of the sketches tuned out alright which was the middle one, which I didn't get to finish. One thing about having little time is not having time too add character to the drawings. After this Jon came to our easels one by one to explain contour lines and shown us how to do it. Luckily I understood what he meant, but whether or not I could do it was a different matter. When I started using contour lines I started turning it into the outline of the body other than using the light and dark parts of the model. Also with the chalk being think I found it hard to do the lines think and I ended up smudging the lines to try sort them out, when in the end it made it look worse. After finishing our sketches we looked around each other's work to reflect on our own work. I found I was the only one who used the lines differently to everyone else.


 So this week at college I got introduced to digital life drawing. I never once thought about using a digital drawing pad for anything so I thought using it for life drawing would be pretty difficult. Here are some of the weaker drawings I had composed. When I look at these images it frustrates me to see how bad they are. I feel as if it's hit and miss when I'm doing life drawing, one minute I can create a strong piece of work and the next minute I have created a disaster.


